Tips
Top 5 cool Samsung Galaxy S23 Ultra hacks
Samsung Galaxy S23 Ultra introduces the intelligent One UI 5.1 software, which packs wonderful new features. Today, I’m sharing the top 5 cool Samsung Galaxy S23 Ultra hacks, which you can try to get tasks done and fix mistakes that you made unknowingly.
Image Clipper
Image Clipper feature enables the creation of stickers and the editing of stories or images, without the need to download any 3rd party app to your Galaxy S23 Ultra. All you have to do is press the image or object to remember and select the copy option, it’s that easy, you can send it as a sticker or add it to another photo.

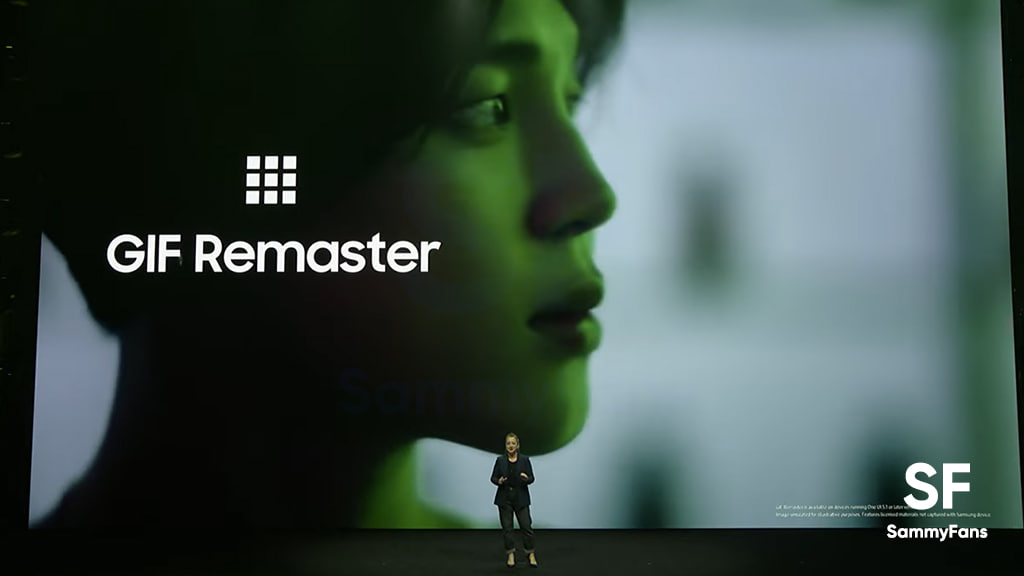
Create GIF
With the Galaxy S23 Ultra, to make GIFs, you only have to press and hold the shutter button and slide it down to capture a burst of photos, then access your gallery, the GIF option will be in the dots and that’s it, you can save, and share it with your contacts.
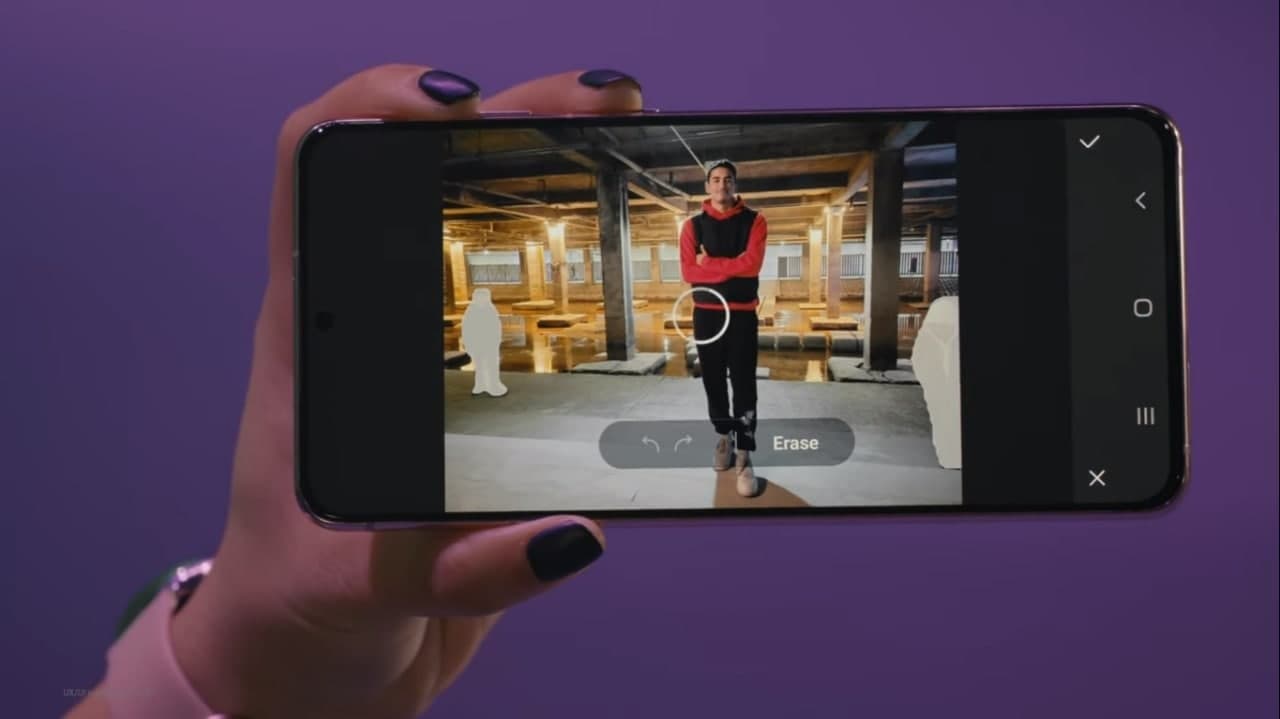
Remove objects
To remove unwanted objects from your photos, all you have to do is open the photo editor from your gallery and you will find an option that says “Object eraser.” Thanks to the advanced algorithm of the Galaxy S23 Ultra, you only have to touch a part of the person or object to delete and it will automatically be selected.
Finally, you must click on delete and it will disappear from your image. Also in the Gallery, you will find the option to ‘Remaster image’, this will correct all the details automatically and will show you the before and after.
View deleted messages
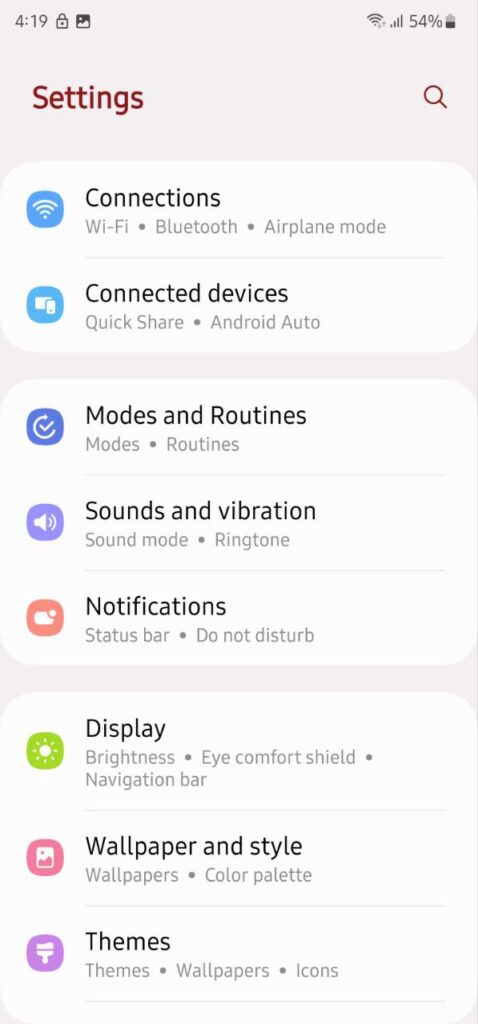
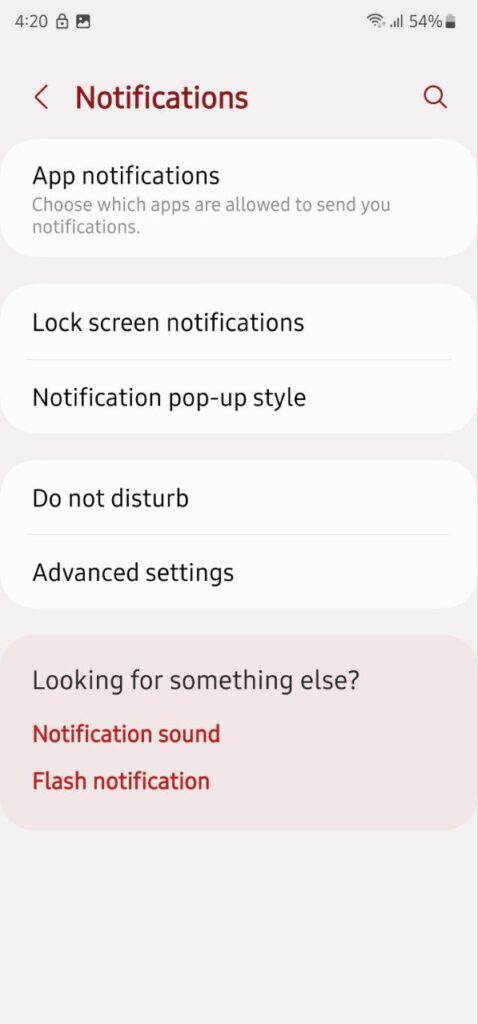
To do this, you must go to the settings section, and select the following options:
- Notifications
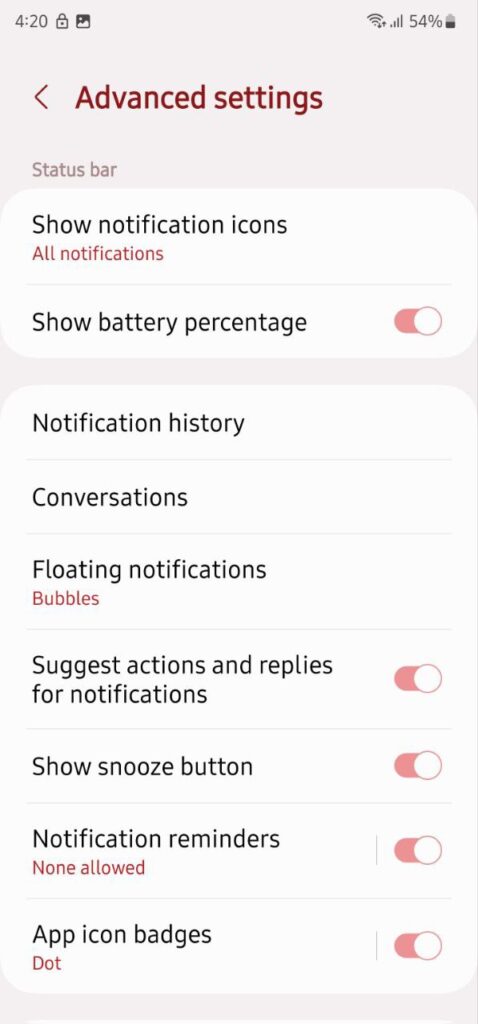
- Advanced settings
- Activate ‘Notification history’
Now, every time you receive a message in any messaging app or social network, it will be saved in history, and even if it is deleted, you will be able to see it again.
Shortcuts to your favorite apps
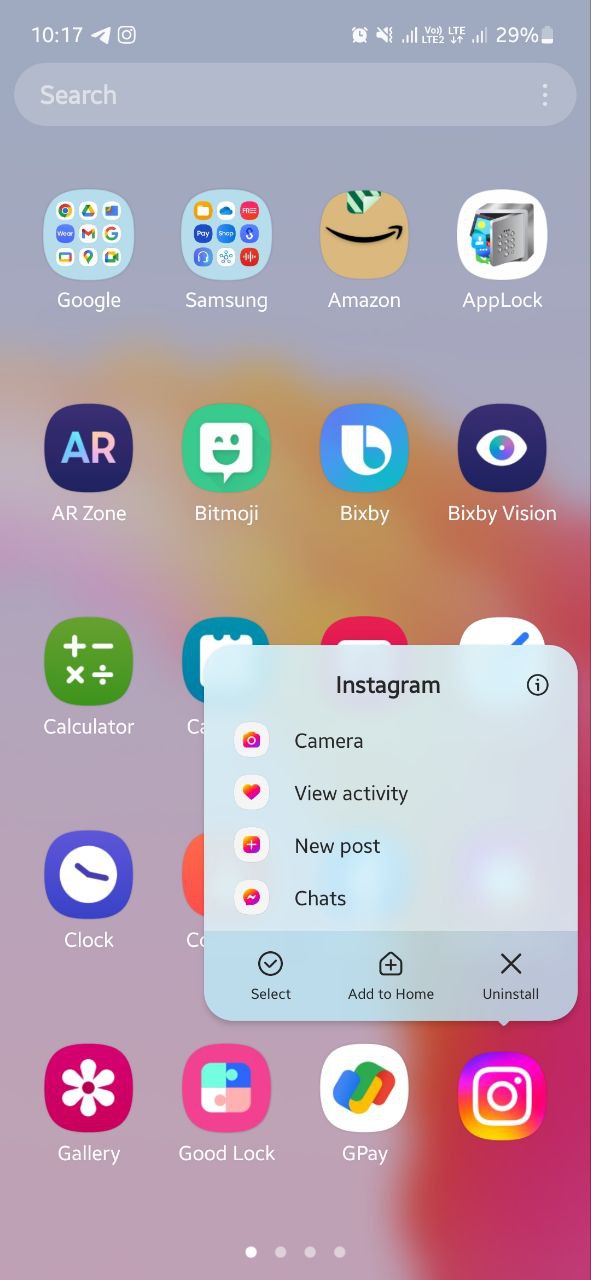
It has happened to all of us that suddenly we lose sight of our favorite app and we have to look for it. To avoid this stressful moment, you can create shortcuts to your favorite applications such as Facebook or Instagram. To avoid looking for the app, entering it, and later to your inbox, here is the super hack.
The first option is to press the Instagram icon, which will display the following menu: camera, view activity, new post, and chats. There you can choose the option you want or drag any of those options to the start so that it opens directly.
How many hacks you are already aware of on your Samsung Galaxy S23 Ultra? Share yours with us via social media. Follow our socials → Google News, Telegram, Twitter, Facebook


Samsung Galaxy S24 series introduced several new features and enhancements with the One UI 6.1, one of which is Intelligent Optimization. This feature is designed to give users specific control over the image processing levels directly from the camera settings.
The Intelligent Optimization feature allows users to adjust how their photos are processed. Whether capturing everyday moments or professional shots, the Intelligent Optimization feature in One UI 6.1 ensures that your photos meet your standards with minimal effort.
How to activate it?
You can easily enable the Intelligent Optimization feature by following the steps below.
- Open the Camera app, then Settings.
- Tap on Intelligent Optimization.
- Choose the desired optimization level
- Maximum
- Medium: Speed up capture time by doing less optimization
- Minimum: Take pictures as fast as possible by not optimizing pictures after they are taken.
- Optionally, enable or disable the Scene Optimizer.
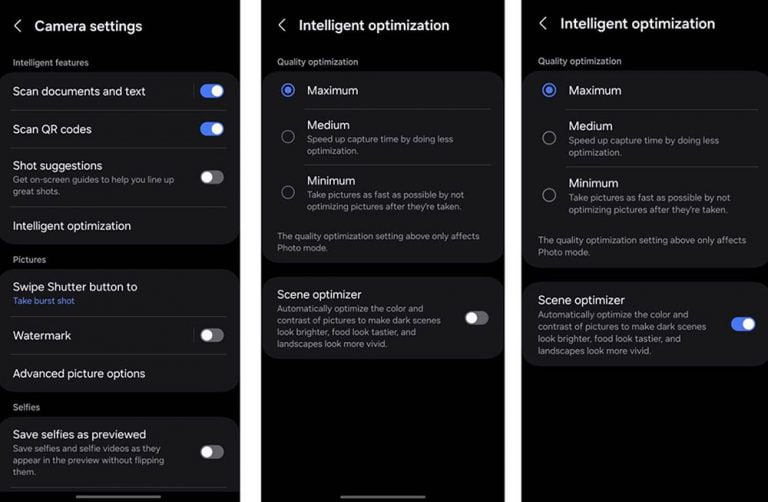
This feature allows for customization of photo attributes such as sharpness, contrast, and brightness. For example, selecting the minimum level results in more natural-looking images, while the maximum level increases detail and sharpness, which is ideal for zoomed-in shots. Notably, the quality optimization setting of these levels only affects Photo Mode.
If you enable Scene Optimizer, it automatically optimizes the color and contrast of pictures to make dark scenes look brighter, food looks tastier and landscapes look more vivid.
How to use One UI 6.1 Camera Shift feature on your Samsung Galaxy
Stay up-to-date on Samsung Galaxy, One UI & Tech Stuffs by following Sammy Fans on X/Twitter. You can also discover the latest news, polls, reviews, and new features for Samsung & Google Apps, Galaxy Phones, and the One UI/Android operating system.
Do you like this post? Kindly, let us know on X/Twitter: we love hearing your feedback! If you prefer using other social platforms besides X, follow/join us on Google News, Facebook, and Telegram.
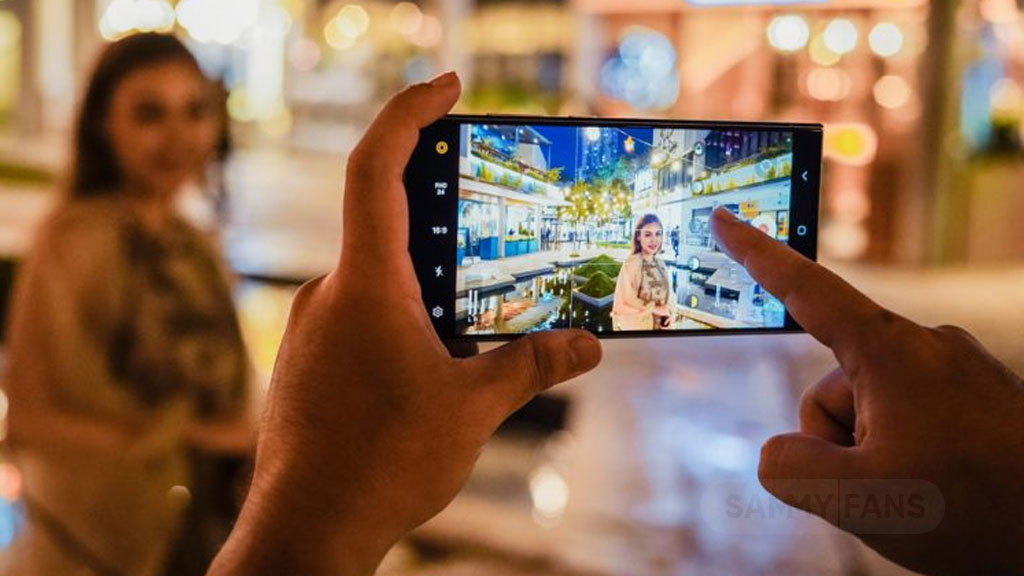
Samsung’s One UI 6.1 offers a range of new features and Galaxy AI Suite that significantly improves the user experience. With the latest Galaxy Enhance-X app, users of Samsung One UI 6.1 devices can enhance their photos using an innovative feature called Camera Shift. This feature is designed to provide more flexibility and control over the composition of photos.
The Camera Shift feature allows users to alter the perspective of a photograph after it has been taken. This is mainly useful in situations where capturing the perfect angle in real time is not possible.
Follow our socials → Google News | Telegram | X/Twitter | Facebook | WhatsApp
Moreover, the Camera Shift uses advanced AI algorithms to modify the angle and perspective of your photos, providing a result that aligns with your imagination. With events that unfold rapidly and capturing every detail that matters, Camera Shift ensures that you can revisit and adjust those moments.
How to use it?
You can easily use the Camera Shift feature on your Samsung Galaxy smartphone running One UI 6.1, just need to follow a few steps:
- Open the Galaxy Store app and download the Galaxy Enhance-X app.
- Select the photo you wish to edit and choose the “Camera Shift” option.
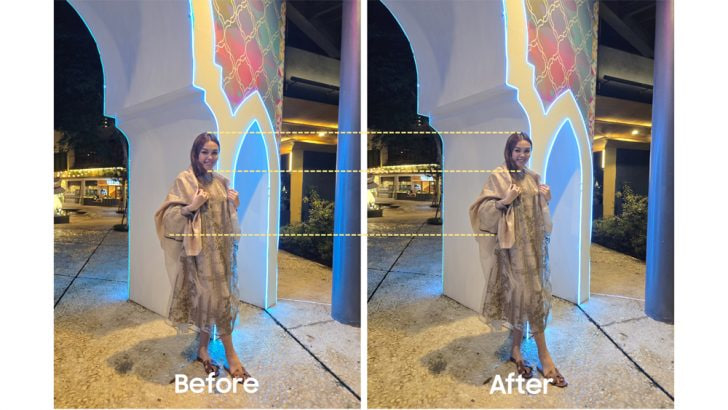
- A slider will appear, enabling you to change the photo’s perspective as you see fit.
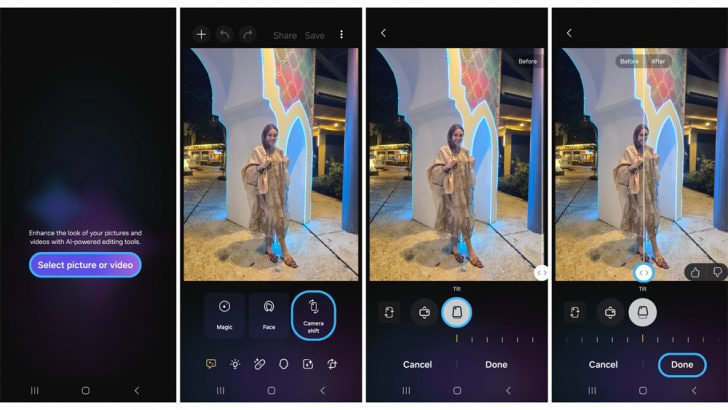
Samsung Galaxy Enhance-X’s Camera Shift feature enhances mobile photography by making it easier to take pictures and expanding the creative options for users. If you have the latest version of Galaxy Enhance-X and One UI 6.1 running Samsung device then you can enjoy this feature.
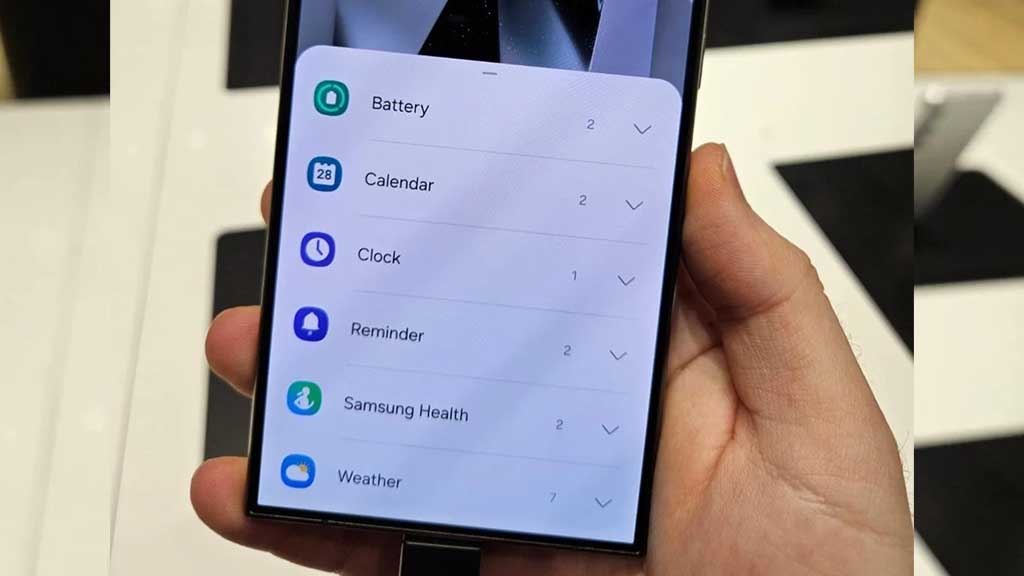
Samsung Galaxy S24 series introduced a significant enhancement to the user experience with One UI 6.1, which allows extensive customization of lock screen widgets. This impressive feature is a first for the flagship devices, allowing users to personalize their lock screen to a great extent.
One UI 6.1 lets users arrange different widgets on their lock screen according to personal preference. These widgets include a customizable clock display color, battery indicators, calendar, weather forecast, and even Samsung Health’s daily activity graphs.
Follow our socials → Google News | Telegram | X/Twitter | Facebook | WhatsApp
Arrange Widgets on Samsung One UI 6.1 Lock Screen
To customize the lock screen, users just need to follow a few steps:
- Simply touch and hold to your phone’s lock screen.
- Select ‘Widgets’ to view the available options and swipe up to see available widgets such as battery, clock and reminders.
Add
- Now, tap on Widgets, then select the desired widget option. You can repeat this process to continue adding widgets.
- To rearrange widgets, touch and hold the selected widget, then drag it to a new place next to the other widgets.
Remove
- If a user decides to remove a widget, they can do so by tapping the red minus icon. This will delete it from your lock screen.
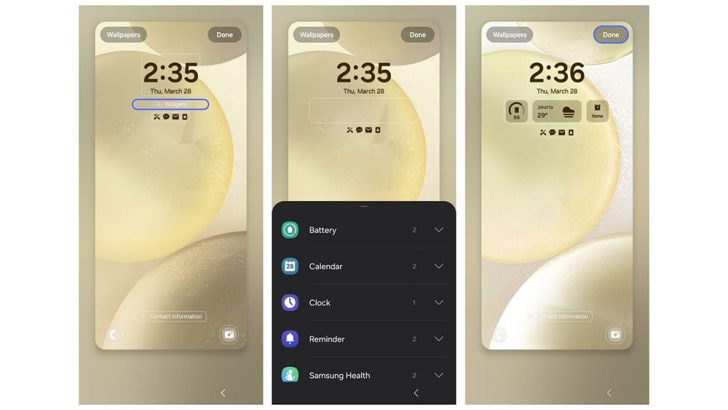
Once the customization is complete, users can save their settings by tapping ‘Done’. This personalized setup allows for efficient access to information directly from the lock screen. If you have a Galaxy device running One UI 6.1, then you can try Lock Screen widget customization.