Tips and Tricks
Galaxy Watch Tip: How to use Samsung Pay in unsupported country
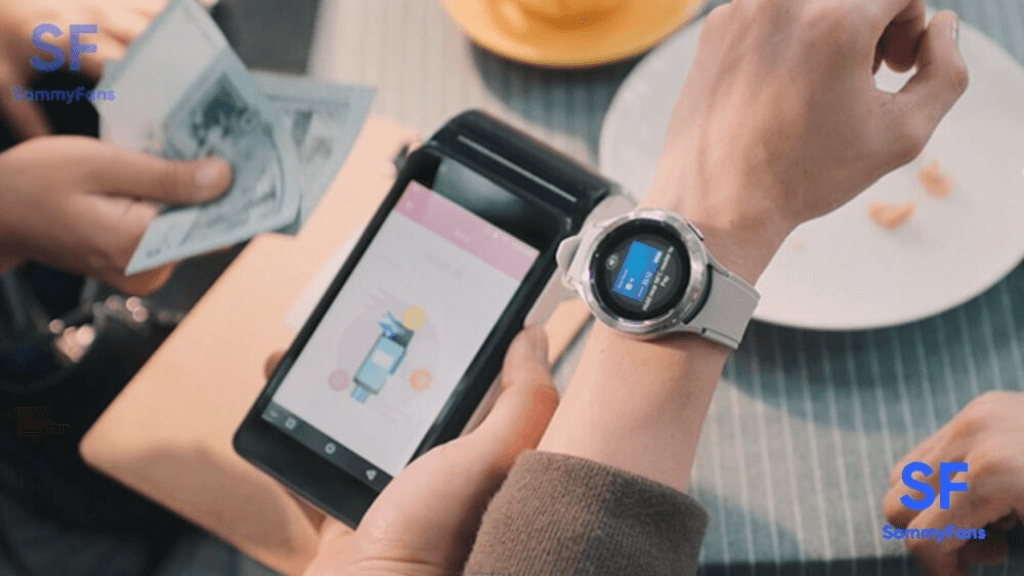
There are several ways to pay, however, nowadays, the majority of consumers favor contactless transactions while purchasing or sending money. Various platforms such as Samsung Pay, Google Wallet, and Apple Pay, provide the payment function.
These apps can be used on a phone or tablet, but the only app that lets you make payments with your Galaxy Watch is Samsung Pay. Now you can pay without any hassles using your wrist instead of your phone, however, there are certain restrictions.
Join SammyFans on Telegram
Every useful tool has certain restrictions, just like Samsung Pay does. Only 15 countries currently accept Samsung Pay, and many more do not with Galaxy Watch. UAE, Canada, China, Spain, Russia, Singapore, South Africa, Brazil, United Kingdom, Malaysia, the US, Sweden, Switzerland, Italy, and Australia are among the 15 regions.
About 10 Samsung smartwatches support the Samsung Pay functionality in qualified regions that are as follows: Gear S3, Gear Sport, Galaxy Watch, Galaxy Watch Active, Galaxy Watch Active 2, Galaxy Watch 3, Watch 4, Watch 4 Classic, Watch 5, and 5 Pro.
Follow Sammy Fans on Google News
As a result, contactless purchases with Samsung Pay on the Galaxy Watch require Near Field Communication (NFC). When you bring your watch close to the point-of-sale (POS) terminal, it activates because it is NFC-enabled.
The transaction is then completed after the watch’s NFC module connects to the payment terminal. So let’s get started with how to use it on the watch even if you live in an area that isn’t supported.
How to use Samsung Pay on Galaxy Watch in unsupported country
- Swipe up to view your Galaxy Watch’s app list
- Next, launch the Phone app.
- Click the dialer icon, dial *#272*719434266344#, and a secret menu will appear. Click “OK” to continue.
- Select the new region as MEA as you scroll down. Because this action is final, proceed with caution.
- After deciding on MEA as your new CEC, choose Install.
- After selecting OK, your Galaxy Watch will restart.
- After the watch enters the user interface, choose your preferred language.
- Next, pick a region or nation. Select any area that accepts Samsung Pay.
- After that, click Restart. The Galaxy Watch will now start up again.
Once your Galaxy Watch is set up and ready to use, access the list of apps. You’ll see that you now have the Samsung Pay app installed on your smartwatch.
How to setup Samsung Pay on Galaxy Watch
After you have done the above process, now it’s time to set up Samsung Pay. To do that, follow the below steps also.
- On your Galaxy Watch, launch the Samsung Pay app. The arrow that says “Start using Samsung Pay now” should be tapped. Click OK.
- Examine your phone. The Samsung Pay (Watch plug-in) Play Store page should load. Since the app isn’t supported everywhere, you might not see the download option.
- Download the Samsung Pay (Watch plug-in) APK file on your smartphone from (Here)
- Following the APK download, select Open before it vanishes as you cannot open it later manually.
- The Samsung Pay app will ask for your permission; touch OK to accept.
- Update the Samsung Pay (Watch plug-in) app right away.
- Close Samsung Pay on your Galaxy Watch and relaunch it if you don’t see the update option. To restart Samsung Pay on your smartphone, adhere to the on-screen directions. Continue doing this until the update prompt appears.
Once done, press the alert to start Samsung Pay on your phone. After choosing the Sign In option, input your login information. To accept the terms of service, check the appropriate boxes, at this point, you must add cards by clicking “Add payment card.”
To allow location access, enter your card information and click Allow. When the terms of service appear, click “I agree to all.” and decide how you want to verify your card, and follow the steps, finally click “Done” to finish.
That’s it, You’ve now set up and added your card to Samsung Pay on your Galaxy Watch. Now you can use Samsung Pay on Galaxy Watch to do payments in an unsupported region.


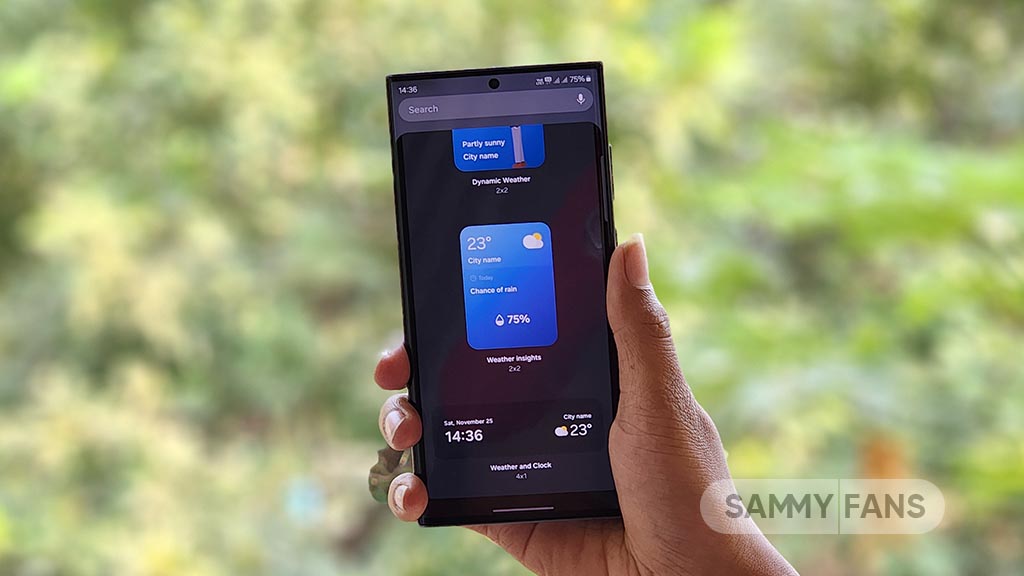
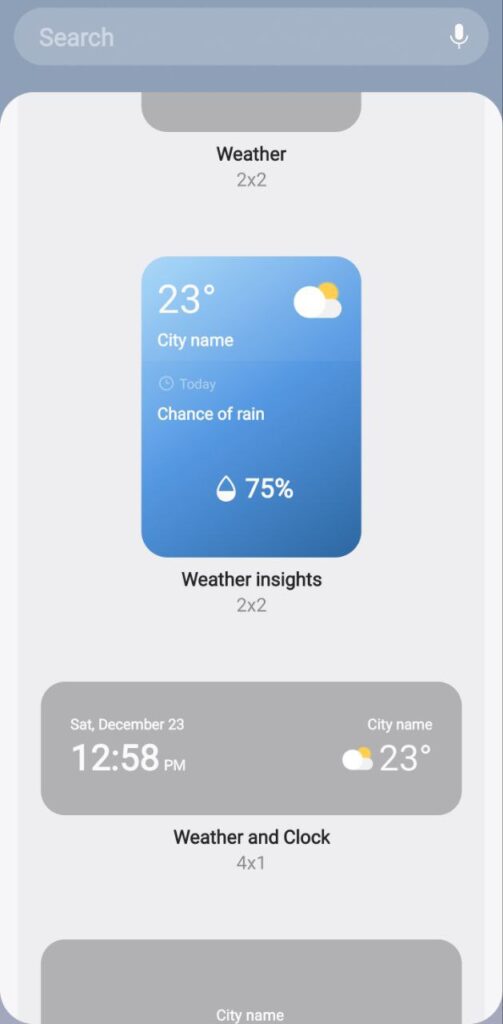
Samsung One UI 6.0 brings a lot of new features and improvements to the Galaxy devices. One of the most useful features is the Weather Insight Widget, which provides a comprehensive overview of the local weather conditions.
The Weather Insight Widget shows the current temperature, humidity, air quality, UV index, and wind speed, as well as the forecast for the next 24 hours and 7 days.
It also alerts the user of any upcoming severe weather, such as storms, snowfall, rain, or heat waves. The widget helps the user stay well-informed and prepared for weather changes.
You can easily add the Weather Insight Widget to the home screen of the Galaxy device. Here are the steps to follow:
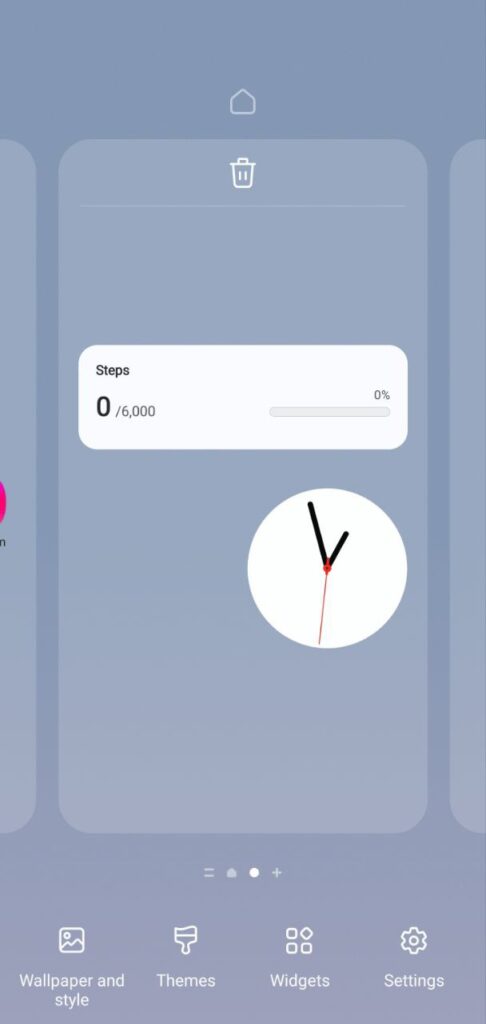
- Tap and hold the blank space on the home screen until the options menu appears.
- Click on the Widgets.
- Scroll down to find Samsung Weather.
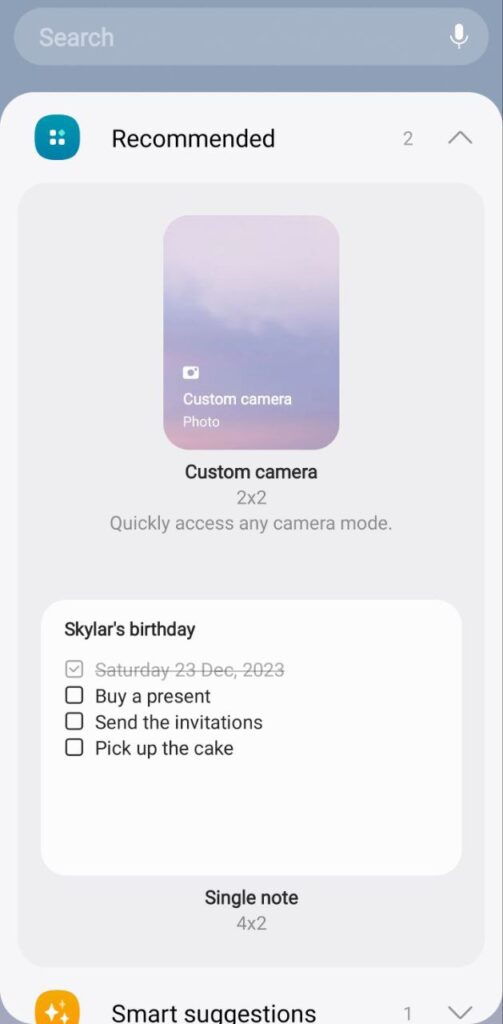
- Press the Weather option.

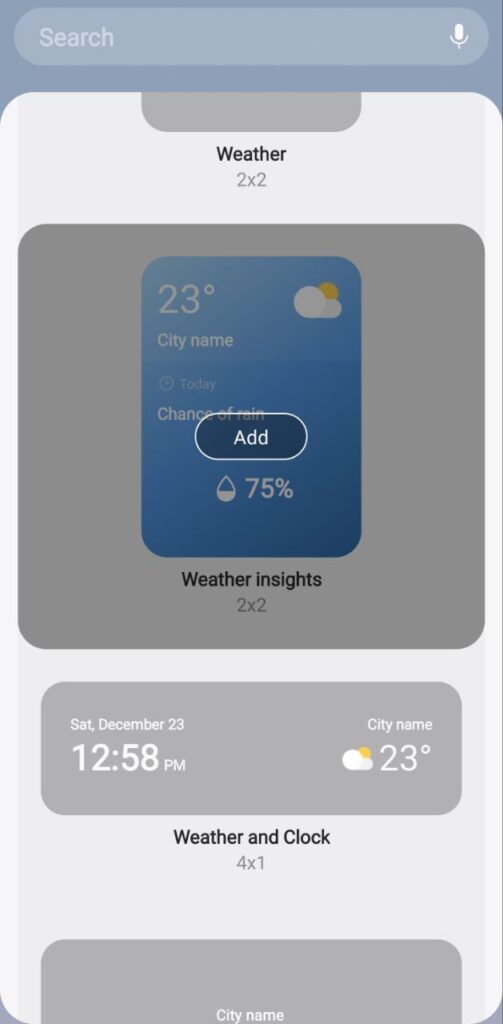
- Tap on the Insight from the list of widgets.
- Click on the Add option.
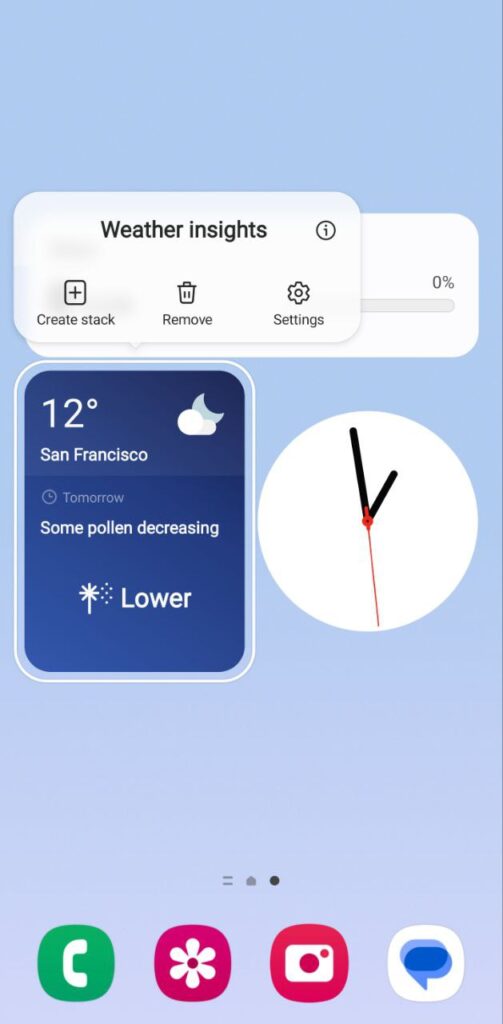
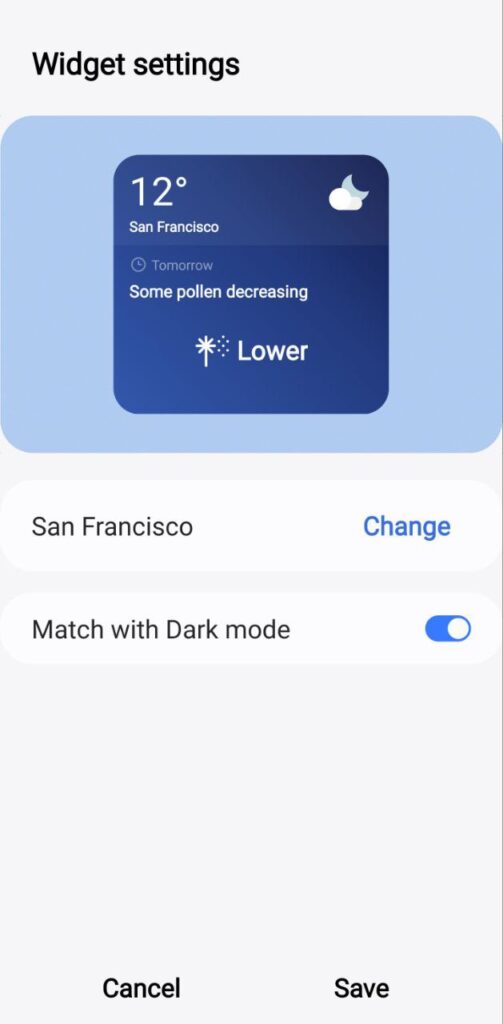
Now, you can drag and drop the widget to the desired location on the home screen and resize it if needed. Once the widget is added, the user can edit it by tapping on the settings icon on the top right corner of the widget. The user can also access more details and tips by tapping on the widget itself.
9 Amazing One UI 6.0 features you should try on your Samsung Galaxy device
What if your smartphone’s touchscreen isn’t working properly, and you can’t manage the time to visit a service center? Don’t worry, you can effortlessly ensure optimal device health and get personalized support right at your fingertips by using Samsung’s Digital Service Center.
Here are DIY hacks that would ensure smooth functioning of your smartphone’s screen:
Screen doesn’t detect single-finger touches
- It’s possible that ‘TalkBack’ feature might be on. To disable ‘TalkBack’, tap on the settings icon once to select, followed by a double tap to open it.
- Scroll down and open ‘Accessibility’ and go to ‘Installed Apps’. Double tap on ‘TalkBack’ and then tap once on the on and off switch at the top right.
- Tap on ‘Turn off,’ and the ‘TalkBack’ feature will be disabled. You can also turn off ‘TalkBack’ using Bixby by simply pressing and holding the Bixby button and saying “Turn off TalkBack”.
Display’s touch sensitivity is too low
- Any attachment to the screen may affect the touch sensitivity of the device. But the touch sensitivity can be easily changed by following a series of simple steps.
- Navigate to ‘Setting’ and select ‘Display’. Scroll down to find the option for ‘Touch Sensitivity’ and toggle it on.
- If the touch sensitivity issue persists, try removing your phone’s screen guard and retesting your phone.
Screen doesn’t detect S-Pen input
- Any third-party accessories with a magnetic component, such as a phone cover, can affect S Pen recognition.
- To fix this, remove the accessory and install a Samsung-authorized cover, and try again.
- For optimal S Pen performance, avoid exposure to magnetic objects.
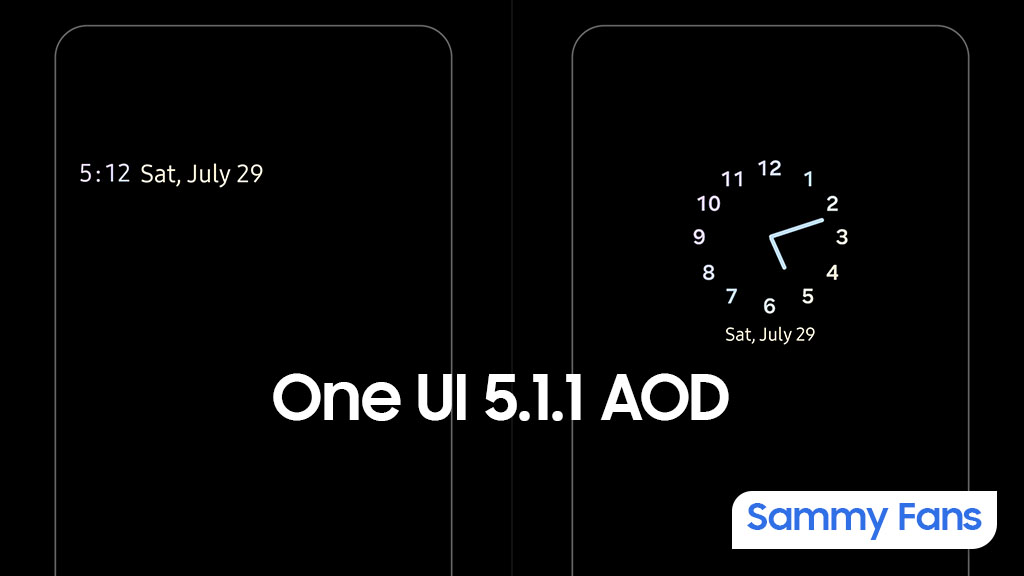
Samsung’s latest foldable smartphones come preinstalled with One UI 5.1.1. This new software comes with improved animations, some new useful features, and usability improvements. In addition, the One UI 5.1.1 brings a new Always On Display Clock Style and revamps one, which is available for download.
One UI 5.1.1 enhances the circular dial Always On Display clock, bringing the same-sized clock numbers. Besides, it adds a new clock style, which is in a horizontal arrangement and showcases time and date along with the day. The latest version of the Always On Display app brings new clock styles to One UI 5.1 phones.
Using the download link, you can download the APK file of the Always On Display app version 8.3.25.8 via mega.nz (via tarunvats33). Hopefully, Samsung will bring the new additions to Galaxy users with future update to the One UI’s AOD app.
- Always On Display v8.3.25.8 — Download [mega]
Follow our socials: