Tips and Tricks
Download Apple iPhone 13, 13 Pro Wallpapers
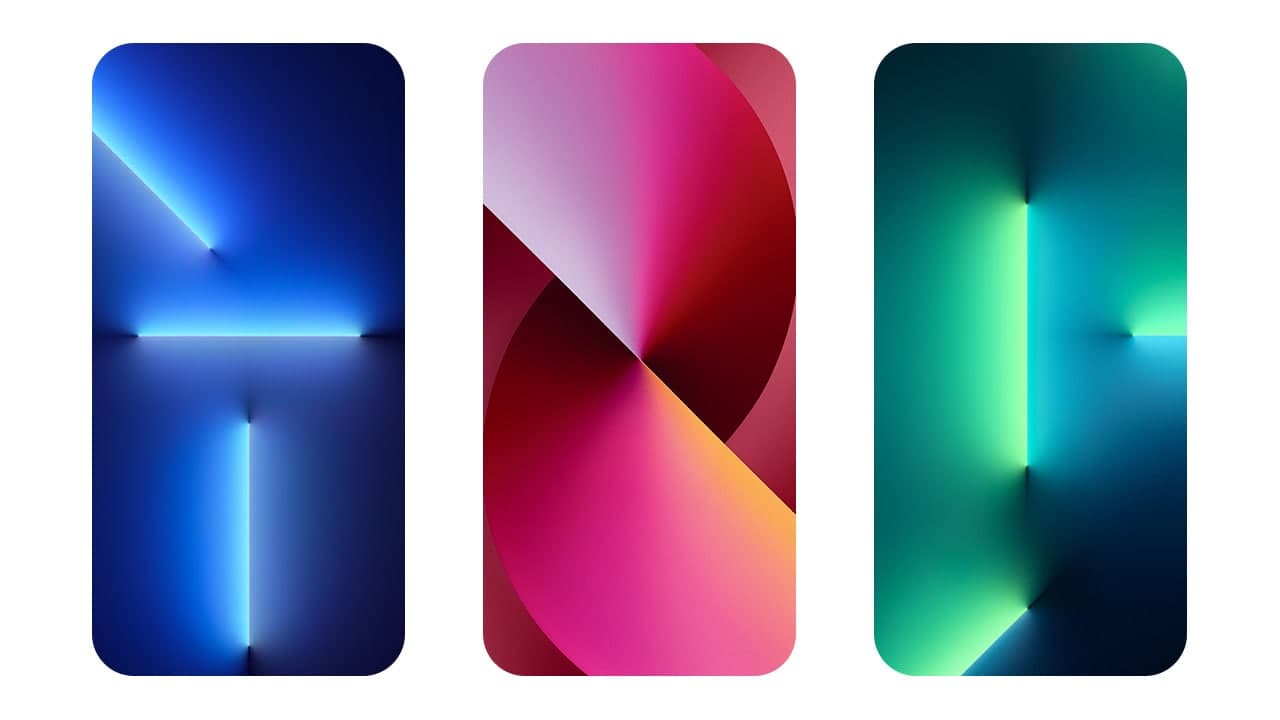
On September 14, Apple launched a brand new iPhone 13 series with several upgrades over the previous iPhone 12 lineup. At the same time, the company has also brought us a collection of new wallpapers for the iPhone 13 series that are available to download here, courtesy of YtechB.
Download iPhone 13 wallpapers:
Apple iPhone 13 series specs
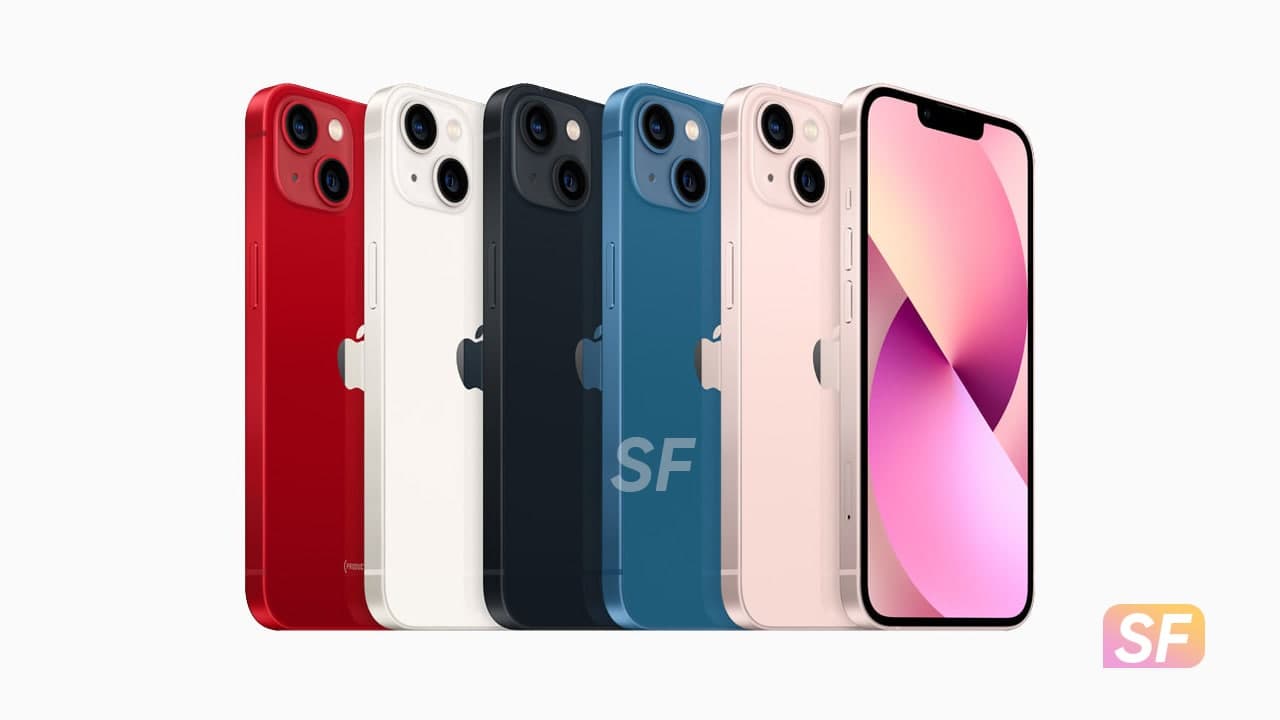
Apple’s iPhone 13 series includes four models – iPhone 13 mini, iPhone 13, iPhone 13 Pro, and iPhone 13 Pro Max. The screen sizes of these four models are 5.4 inches, 6.1 inches, 6.1 inches, and 6.7 inches respectively, and features a 20% smaller notch compared to iPhone 12 models.
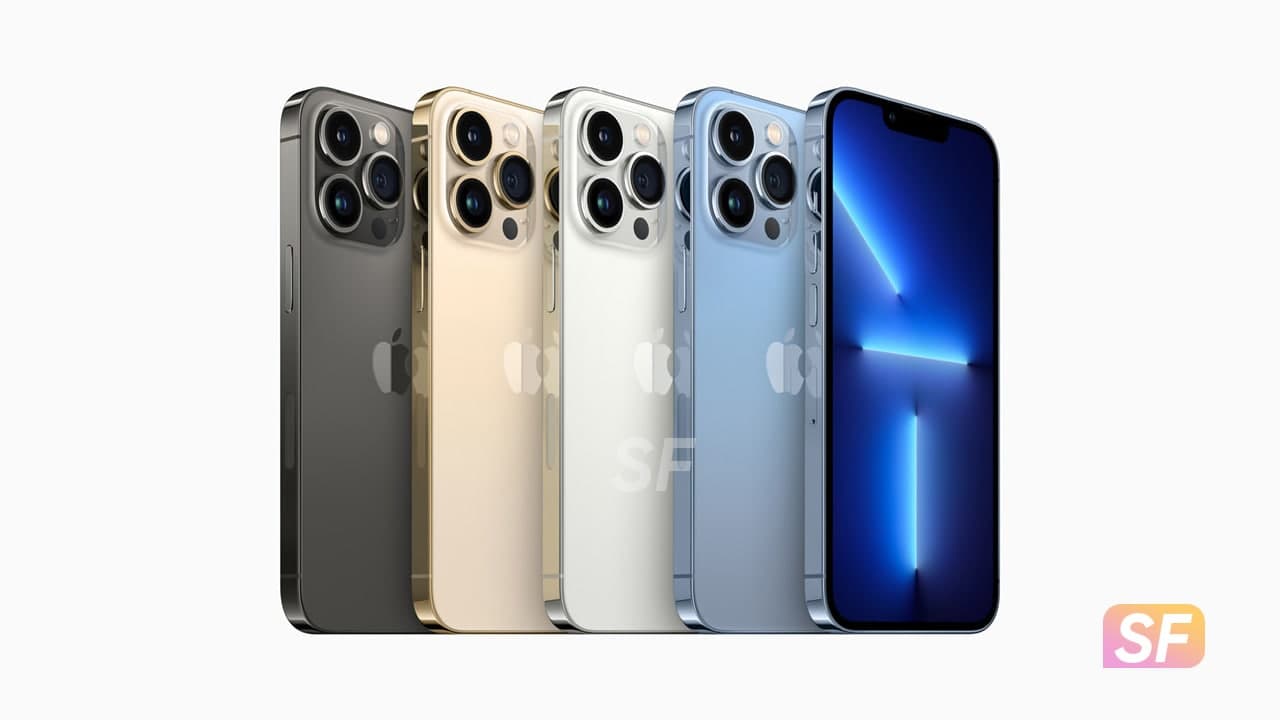
When it comes to display, the iPhone 13 Pro series has undergone a new upgrade and equipped with a new generation of super retina XDR display. The iPhone 13 Pro sports a 6.1-inch screen, and the iPhone 13 Pro Max features a 6.7-inch screen.
Furthermore, the outdoor peak brightness of the screen is 1000 nits, the long-awaited high refresh rate is supported on mobile phones for the first time. iPhone 13 Pro supports ProMotion adaptive refresh technology, which can be adaptively switched from 10Hz to 120Hz for a smoother display of screen content.
Join SammyFans on Telegram
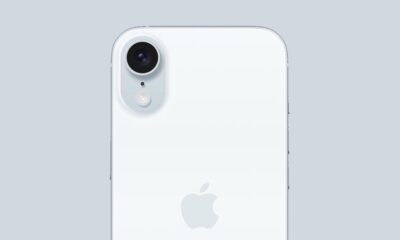
The iPhone 13 uses a rear diagonal dual camera, which is the only difference in appearance from the iPhone 12 triple camera. The iPhone 13 is also equipped with a sensor that is only available on the iPhone 12 Pro Max-a displacement optical image stabilization function.
The iPhone 13 Pro version is a rear three-camera combination. The 77mm telephoto supports 3x optical zoom, and the ultra-wide-angle lens supports autofocus and f/1.8 large aperture.
Compared with the previous generation, the battery life of iPhone 13 is 2.5 hours longer than that of iPhone 12, and the battery life of 13 Mini is 1.5 hours longer than that of 12 Mini. In terms of the color offering, this phone offers brand-new pink, blue, midnight black, starlight and red, and the price starts at $699/799.


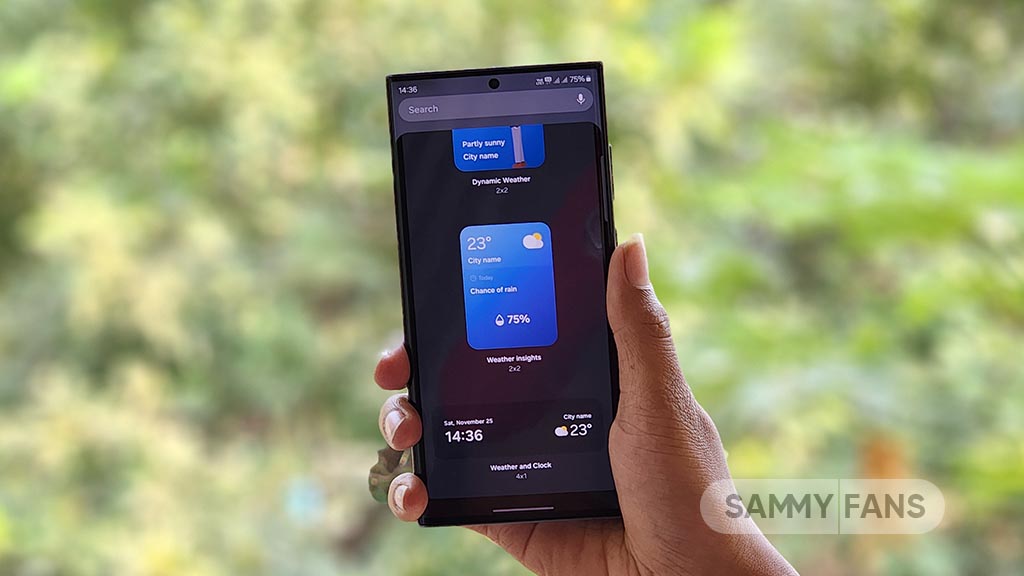
Samsung One UI 6.0 brings a lot of new features and improvements to the Galaxy devices. One of the most useful features is the Weather Insight Widget, which provides a comprehensive overview of the local weather conditions.
The Weather Insight Widget shows the current temperature, humidity, air quality, UV index, and wind speed, as well as the forecast for the next 24 hours and 7 days.
It also alerts the user of any upcoming severe weather, such as storms, snowfall, rain, or heat waves. The widget helps the user stay well-informed and prepared for weather changes.
You can easily add the Weather Insight Widget to the home screen of the Galaxy device. Here are the steps to follow:
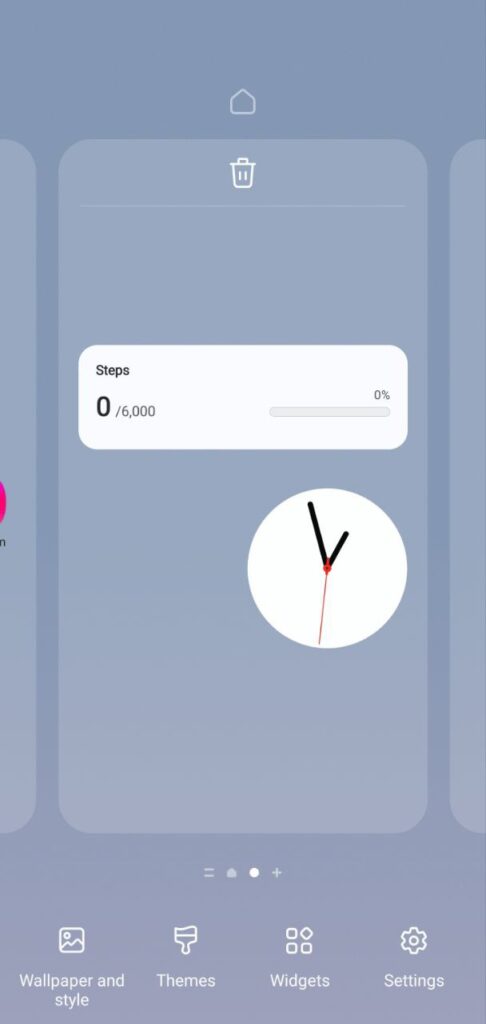
- Tap and hold the blank space on the home screen until the options menu appears.
- Click on the Widgets.
- Scroll down to find Samsung Weather.
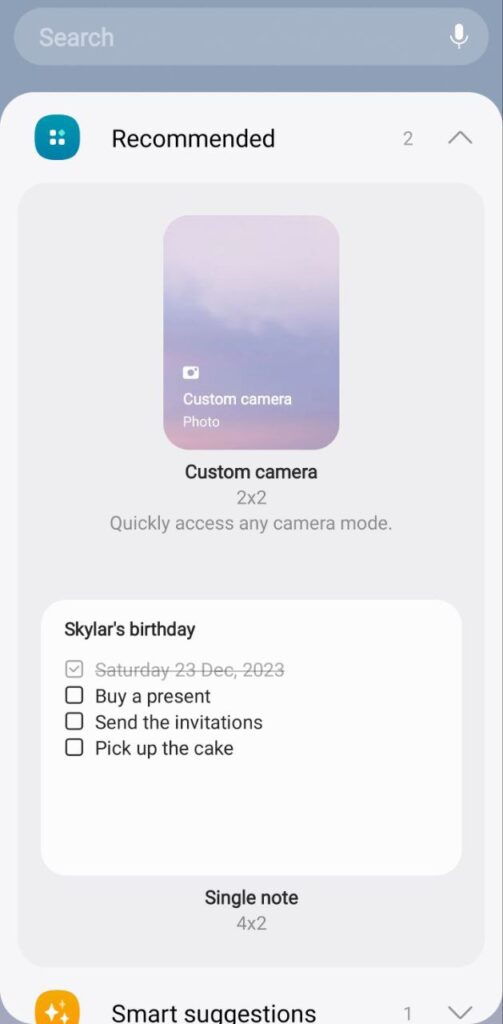
- Press the Weather option.

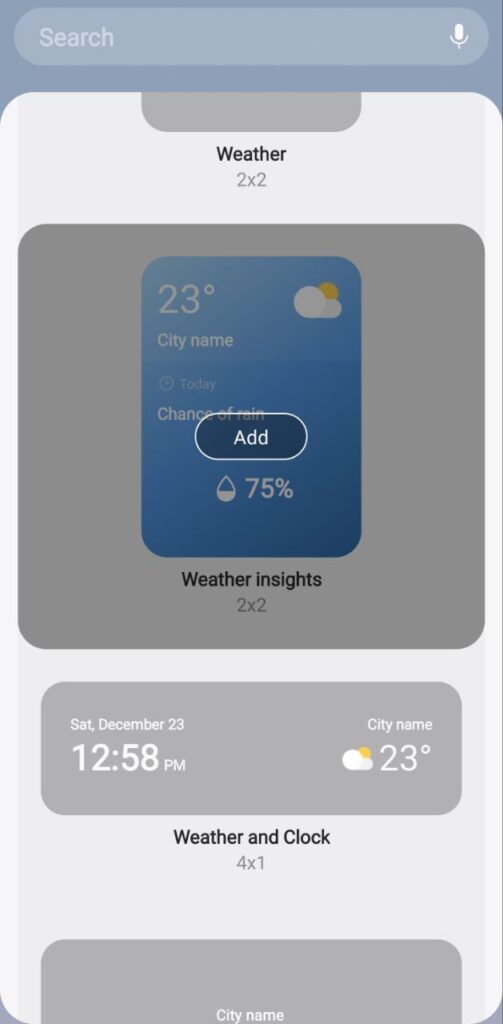
- Tap on the Insight from the list of widgets.
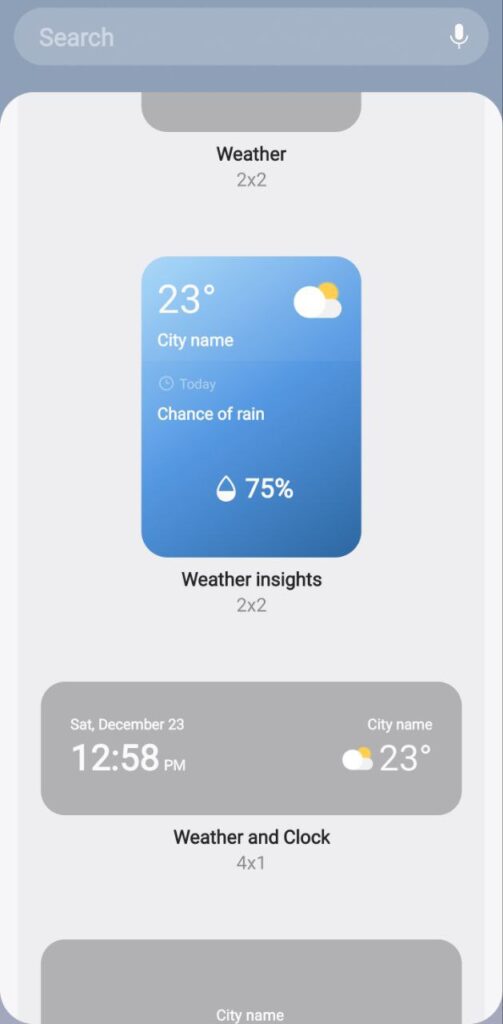
- Click on the Add option.
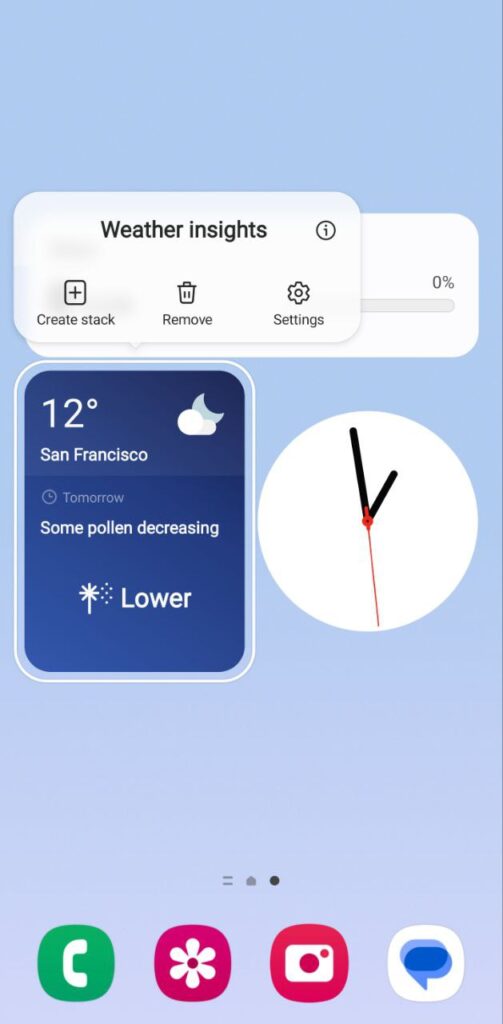
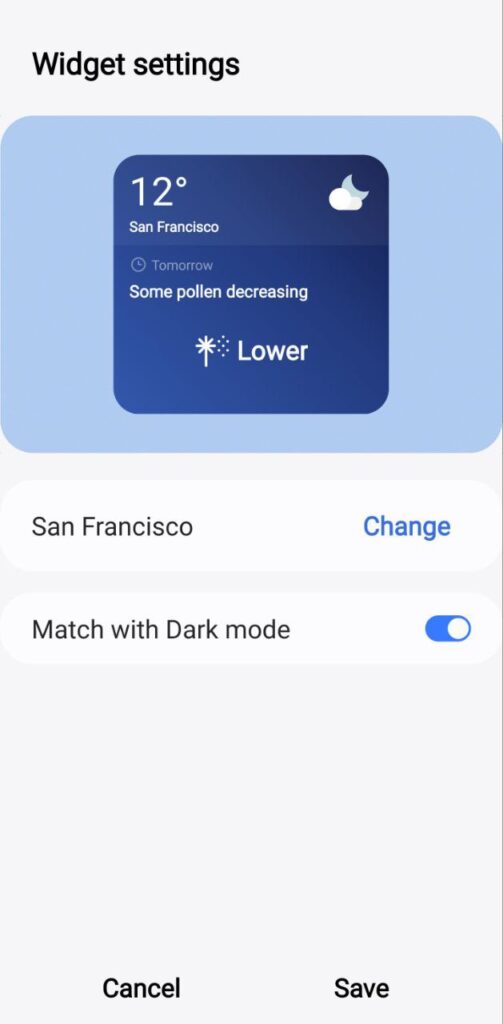
Now, you can drag and drop the widget to the desired location on the home screen and resize it if needed. Once the widget is added, the user can edit it by tapping on the settings icon on the top right corner of the widget. The user can also access more details and tips by tapping on the widget itself.
9 Amazing One UI 6.0 features you should try on your Samsung Galaxy device
What if your smartphone’s touchscreen isn’t working properly, and you can’t manage the time to visit a service center? Don’t worry, you can effortlessly ensure optimal device health and get personalized support right at your fingertips by using Samsung’s Digital Service Center.
Here are DIY hacks that would ensure smooth functioning of your smartphone’s screen:
Screen doesn’t detect single-finger touches
- It’s possible that ‘TalkBack’ feature might be on. To disable ‘TalkBack’, tap on the settings icon once to select, followed by a double tap to open it.
- Scroll down and open ‘Accessibility’ and go to ‘Installed Apps’. Double tap on ‘TalkBack’ and then tap once on the on and off switch at the top right.
- Tap on ‘Turn off,’ and the ‘TalkBack’ feature will be disabled. You can also turn off ‘TalkBack’ using Bixby by simply pressing and holding the Bixby button and saying “Turn off TalkBack”.
Display’s touch sensitivity is too low
- Any attachment to the screen may affect the touch sensitivity of the device. But the touch sensitivity can be easily changed by following a series of simple steps.
- Navigate to ‘Setting’ and select ‘Display’. Scroll down to find the option for ‘Touch Sensitivity’ and toggle it on.
- If the touch sensitivity issue persists, try removing your phone’s screen guard and retesting your phone.
Screen doesn’t detect S-Pen input
- Any third-party accessories with a magnetic component, such as a phone cover, can affect S Pen recognition.
- To fix this, remove the accessory and install a Samsung-authorized cover, and try again.
- For optimal S Pen performance, avoid exposure to magnetic objects.
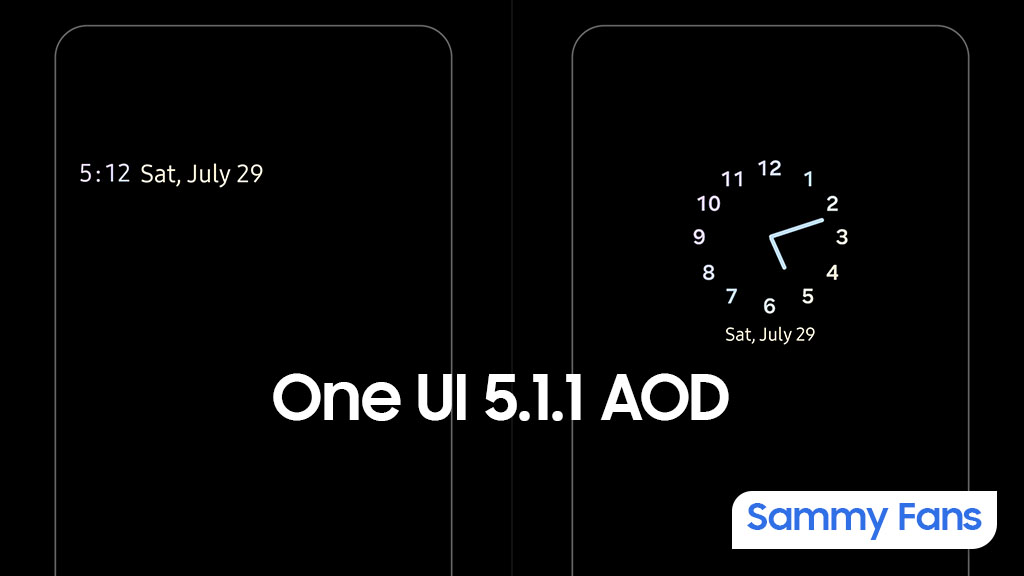
Samsung’s latest foldable smartphones come preinstalled with One UI 5.1.1. This new software comes with improved animations, some new useful features, and usability improvements. In addition, the One UI 5.1.1 brings a new Always On Display Clock Style and revamps one, which is available for download.
One UI 5.1.1 enhances the circular dial Always On Display clock, bringing the same-sized clock numbers. Besides, it adds a new clock style, which is in a horizontal arrangement and showcases time and date along with the day. The latest version of the Always On Display app brings new clock styles to One UI 5.1 phones.
Using the download link, you can download the APK file of the Always On Display app version 8.3.25.8 via mega.nz (via tarunvats33). Hopefully, Samsung will bring the new additions to Galaxy users with future update to the One UI’s AOD app.
- Always On Display v8.3.25.8 — Download [mega]
Follow our socials: