Tips and Tricks
How to download and install latest firmware on Samsung Galaxy S10 using Odin

Samsung launched the Galaxy S10 series as a flagship lineup with many premium features and these devices come pre-installed with Android 9 based One UI 1.1. These models are currently receiving monthly security updates and are eligible to get the upcoming Android 11 based One UI 3.0.
Samsung releases updates for its Galaxy devices differently in various regions and it may take some time to reach them to your device via OTA. However, you can also install these updates manually on your Galaxy devices before it comes to your region using the Samsung firmware installation tool, Odin.
If you want to install the software update manually on your Galaxy S10 devices using Odin, then follow the steps mentioned below:
1. Requirements:
- A Windows PC
- Galaxy S10 device
- USB cable to connect your device to PC
- The latest version of Odin Software
- Firmware for your device
Here is a quick overview of the steps that will be involved for manually downloading the software update in your Samsung Galaxy S10 devices:
- Downloading update package for your Galaxy S10 device
- Download Odin
- Understanding Odin
- Setting up your device
- Making sure about the things before starting the installation process
- Extract firmware
- Installing firmware on the device using Odin
2. Downloading update package for your Galaxy S10 device
You’ll need to download the firmware to install it on your device. To download the update package correctly check our complete guide on how to download firmware for Samsung phones here.
3. Downloading Odin
You can download the latest version of Odin software from here.
4. Understanding the interface of Odin Software:
After you install the Odin, Open the software and you’ll find four different sections and buttons for the respective section, where you can upload the extracted firmware file. These are:
- BL: Bootloader
- AP: Android Partition
- CP: Modem/Radio
- CSC: Consumer software customization
- USERDATA
There are three buttons on the bottom – Start and Reset alongside Exit
5. Make sure about the following things before you start the process:
- Back up your important Data, before installation
- Use the USB cable that comes with your smartphone
- Keep battery sufficiently charged
- Do not disconnect your phone during installation
6. Extract Firmware:
Extract the firmware and should get 5 files including the following:
- AP
- BL
- CP
- CSC
- HOME_CS
Note: Use CES_ if you want to perform a clean install or Home_CS_ to keep your personal apps and data.
7. Setup your Galaxy S10 device:
Before you start the process you need to reboot your device into Download/Odin mode (make sure your device is off).
You can do this on your Samsung Galaxy S10 devices by pressing the button combo mentioned below.
- POWER + VOLUME DOWN + BIXBY
8. Installing the firmware on your device using Odin:
- In download mode, connect your smartphone to the PC using the USB cable that came with your smartphone.
- Open Odin and it’ll automatically detect your device and a Blue box will appear with the COM port number.
- Do not tick or press any other options.
- Click the Start button and it’ll start the firmware installation
- Wait for the installation. Once finished, it’ll show “PASS” output and your device will reboot and you can disconnect your smartphone and set it up.


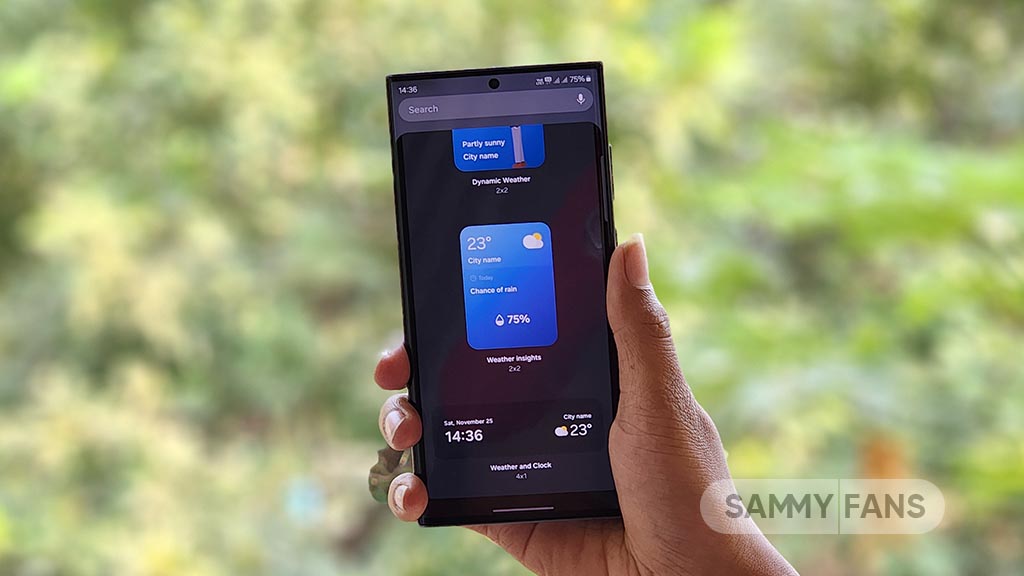
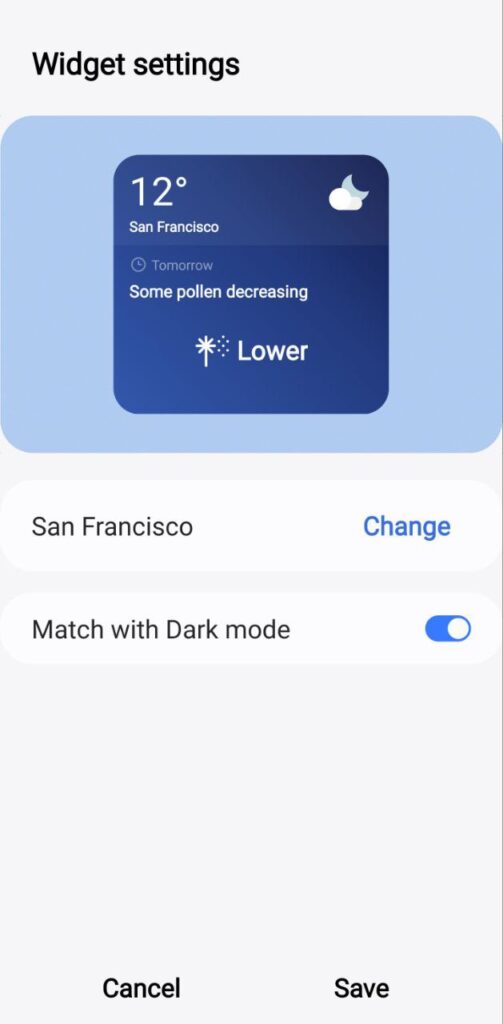
Samsung One UI 6.0 brings a lot of new features and improvements to the Galaxy devices. One of the most useful features is the Weather Insight Widget, which provides a comprehensive overview of the local weather conditions.
The Weather Insight Widget shows the current temperature, humidity, air quality, UV index, and wind speed, as well as the forecast for the next 24 hours and 7 days.
It also alerts the user of any upcoming severe weather, such as storms, snowfall, rain, or heat waves. The widget helps the user stay well-informed and prepared for weather changes.
You can easily add the Weather Insight Widget to the home screen of the Galaxy device. Here are the steps to follow:
- Tap and hold the blank space on the home screen until the options menu appears.
- Click on the Widgets.
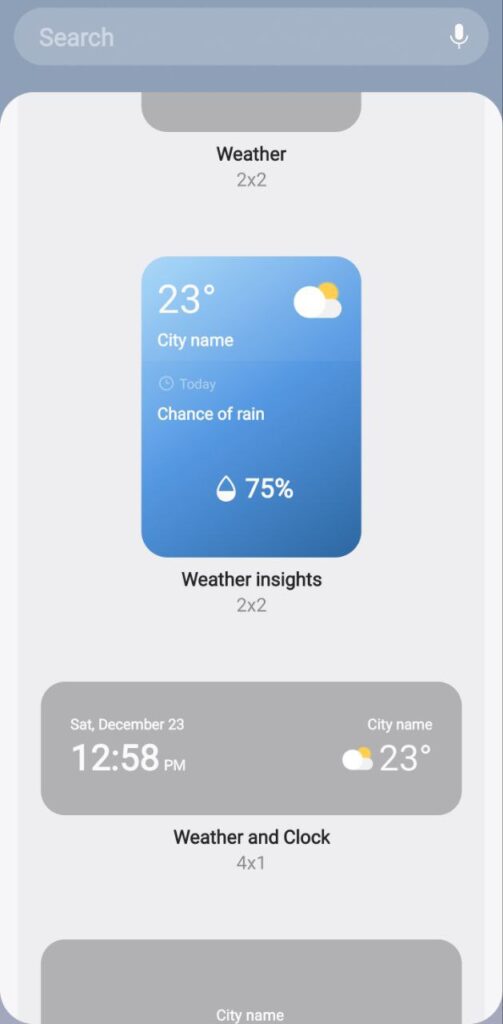
- Scroll down to find Samsung Weather.
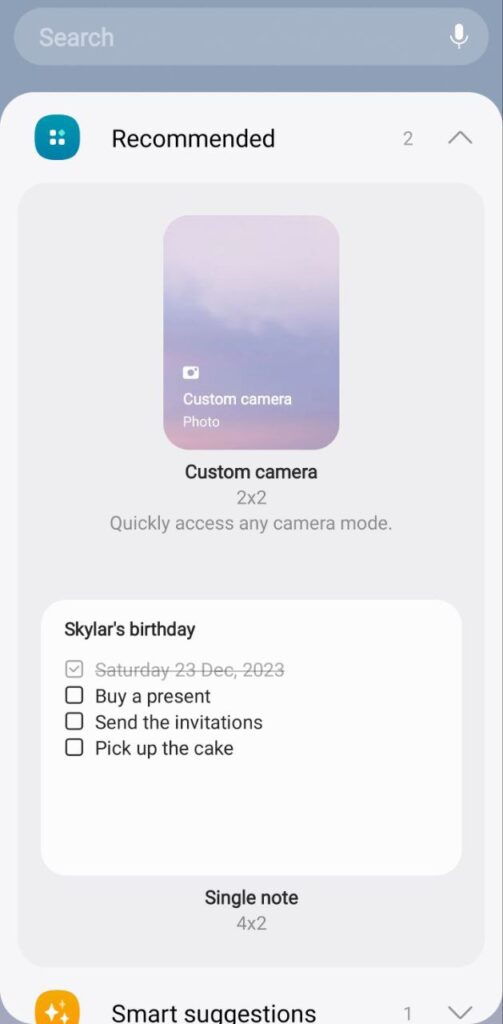
- Press the Weather option.

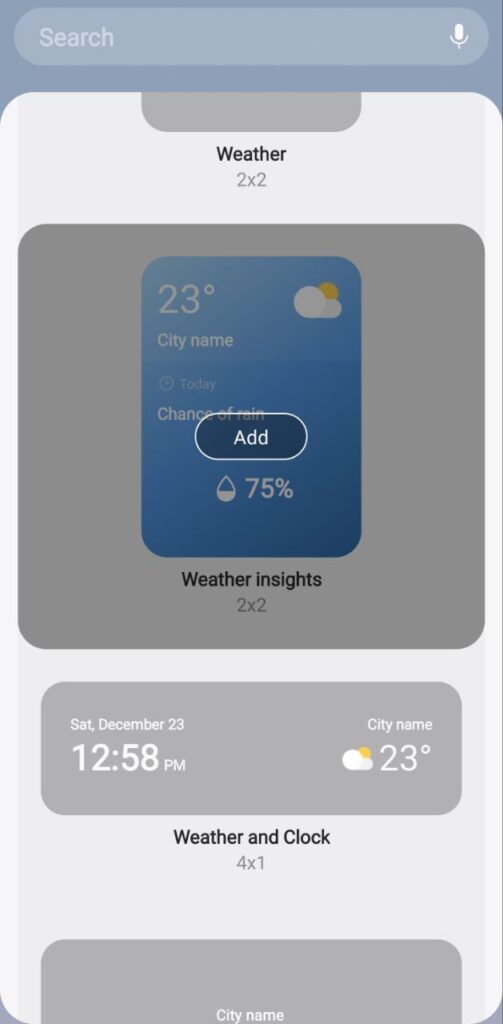
- Tap on the Insight from the list of widgets.
- Click on the Add option.
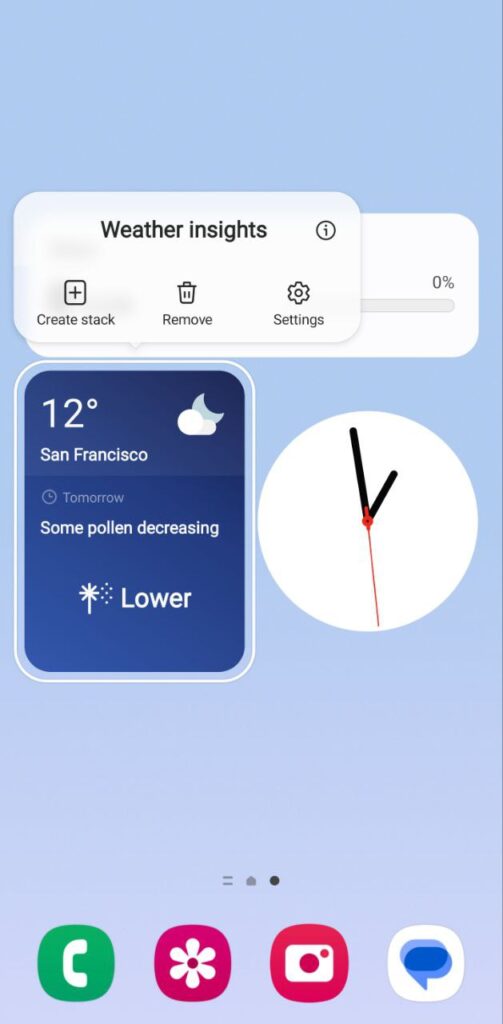
Now, you can drag and drop the widget to the desired location on the home screen and resize it if needed. Once the widget is added, the user can edit it by tapping on the settings icon on the top right corner of the widget. The user can also access more details and tips by tapping on the widget itself.
9 Amazing One UI 6.0 features you should try on your Samsung Galaxy device

What if your smartphone’s touchscreen isn’t working properly, and you can’t manage the time to visit a service center? Don’t worry, you can effortlessly ensure optimal device health and get personalized support right at your fingertips by using Samsung’s Digital Service Center.
Here are DIY hacks that would ensure smooth functioning of your smartphone’s screen:
Screen doesn’t detect single-finger touches
- It’s possible that ‘TalkBack’ feature might be on. To disable ‘TalkBack’, tap on the settings icon once to select, followed by a double tap to open it.
- Scroll down and open ‘Accessibility’ and go to ‘Installed Apps’. Double tap on ‘TalkBack’ and then tap once on the on and off switch at the top right.
- Tap on ‘Turn off,’ and the ‘TalkBack’ feature will be disabled. You can also turn off ‘TalkBack’ using Bixby by simply pressing and holding the Bixby button and saying “Turn off TalkBack”.
Display’s touch sensitivity is too low
- Any attachment to the screen may affect the touch sensitivity of the device. But the touch sensitivity can be easily changed by following a series of simple steps.
- Navigate to ‘Setting’ and select ‘Display’. Scroll down to find the option for ‘Touch Sensitivity’ and toggle it on.
- If the touch sensitivity issue persists, try removing your phone’s screen guard and retesting your phone.
Screen doesn’t detect S-Pen input
- Any third-party accessories with a magnetic component, such as a phone cover, can affect S Pen recognition.
- To fix this, remove the accessory and install a Samsung-authorized cover, and try again.
- For optimal S Pen performance, avoid exposure to magnetic objects.
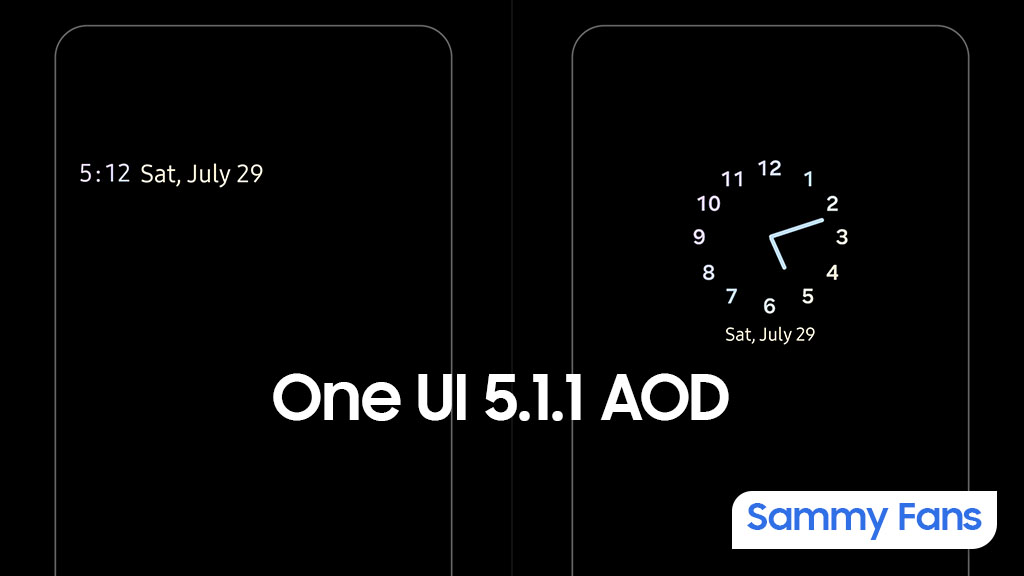
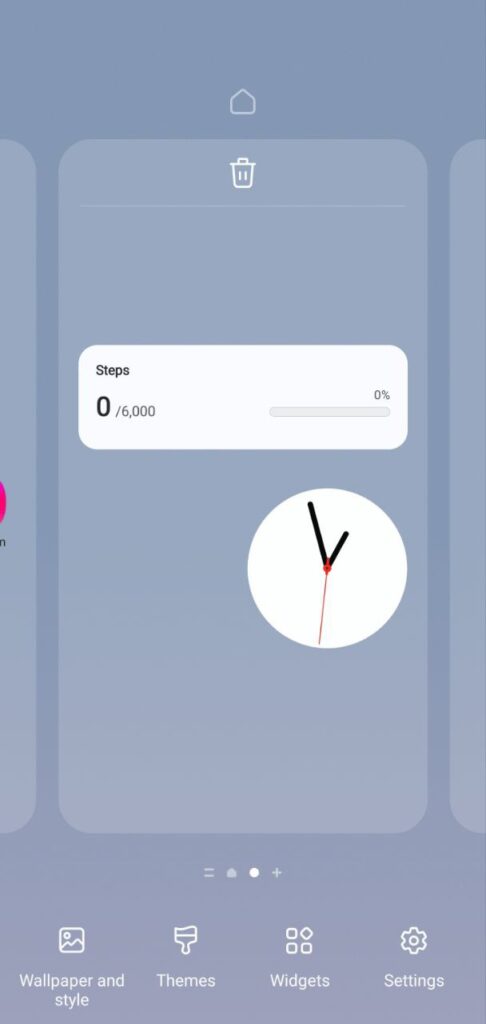
Samsung’s latest foldable smartphones come preinstalled with One UI 5.1.1. This new software comes with improved animations, some new useful features, and usability improvements. In addition, the One UI 5.1.1 brings a new Always On Display Clock Style and revamps one, which is available for download.
One UI 5.1.1 enhances the circular dial Always On Display clock, bringing the same-sized clock numbers. Besides, it adds a new clock style, which is in a horizontal arrangement and showcases time and date along with the day. The latest version of the Always On Display app brings new clock styles to One UI 5.1 phones.
Using the download link, you can download the APK file of the Always On Display app version 8.3.25.8 via mega.nz (via tarunvats33). Hopefully, Samsung will bring the new additions to Galaxy users with future update to the One UI’s AOD app.
- Always On Display v8.3.25.8 — Download [mega]
Follow our socials: